Today’s blog post tackles a question we’ve received from many customers over the past few months:
“Can I deploy Autodesk apps using Pckgr?”
Until recently, I wasn’t sure. Autodesk applications are known for being large and complex, and traditionally difficult to automate. But after enough requests, I decided to dive in and test whether our Custom Applications pipeline could actually handle them.
Turns out it can! Here’s how I made it work, step by step.
The Blockers
Before we could even think about deploying Autodesk through Pckgr, I had to overcome several hurdles:
- Intune Timeouts
- Even if we managed to upload a valid package, it had to survive a full Intune deployment, which can timeout if the install takes too long.
- Offline Installer Access
- Many customers were uploading the online installer, which just pulls the rest of the app from Autodesk’s servers at runtime which won’t work. We need the full offline package.
- Installer Size
- Pckgr’s Custom App uploader has a 5GB file limit. Most Autodesk packages? They range from 6–8GB.
- Installer Complexity
- The command-line switches and structure of Autodesk deployments aren’t exactly intuitive.
The plan of Attack
To begin, I spoke with several customers and did my own digging into Autodesk’s deployment options. Turns out, you can access the offline installers by signing up for a free trial.
Once signed in, you can generate a custom deployment for your app. For this test, I chose the base Autodesk application.
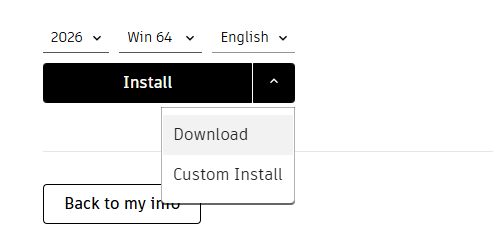
- Start by selecting “Custom Install” from your Autodesk account.
- Set the deployment path (I used
C:\Temp\Autodesk). - Download the deployment executable.
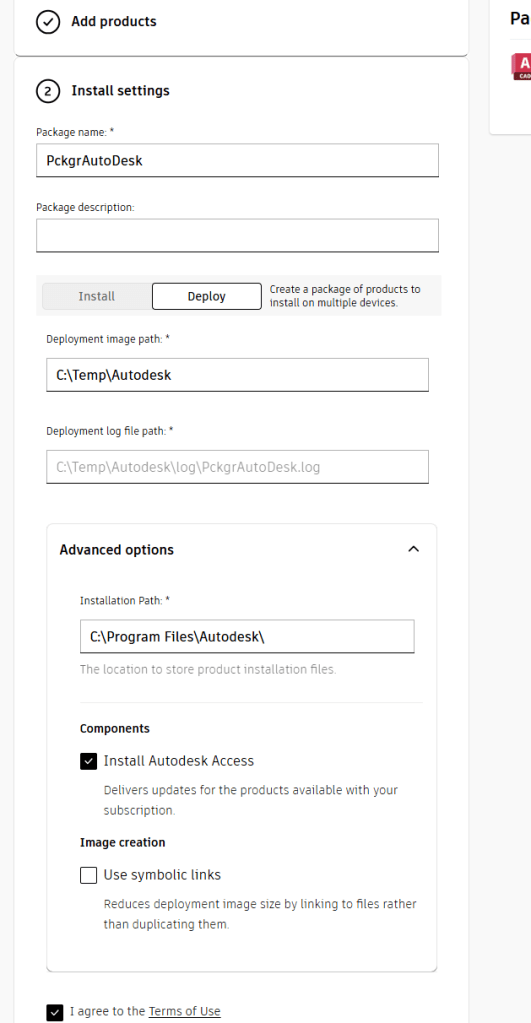
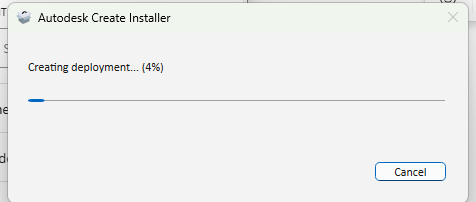
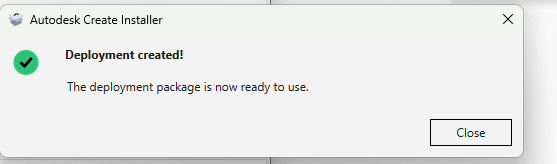
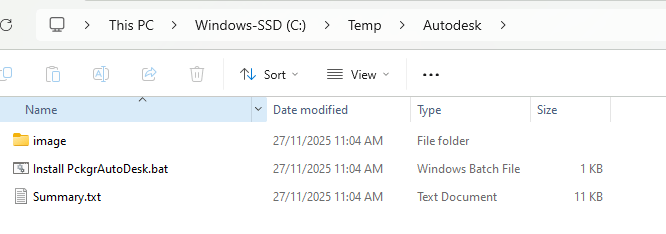
When you run this executable, Autodesk creates the full offline deployment package in the folder you specified. Once complete, navigate to that path and you’ll see the image folder with everything needed for deployment.
Zipping the Installer
The key step here is to:
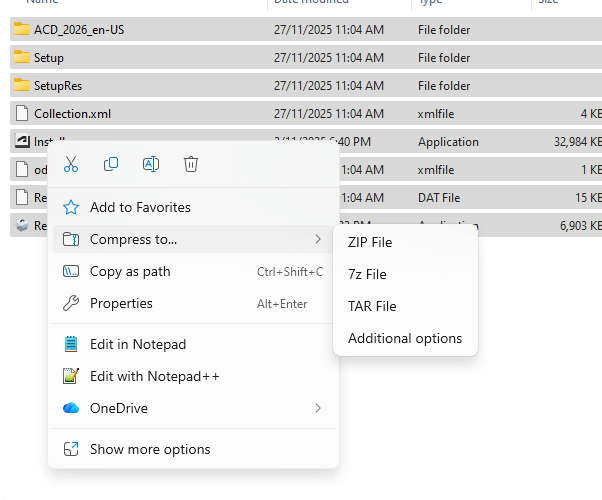
- Open the
imagefolder - Select all files, right-click on
Installer.exe, and choose Send to → Compressed (zipped) folder
This zip file will likely exceed 5GB, so we can’t use Pckgr’s native uploader.
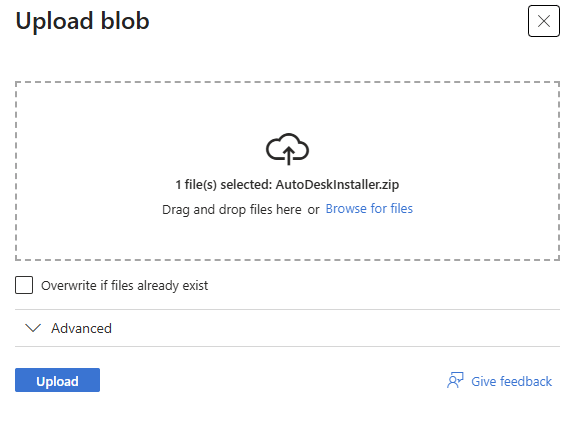
Hosting the ZIP
To work around the size limit, I uploaded the zip to my own Azure Blob Storage container:
- Create a container in Azure Storage Explorer
- Upload the ZIP file
- Generate a shared access signature (SAS) URL
That URL will act as our download link when configuring the Custom Application in Pckgr.
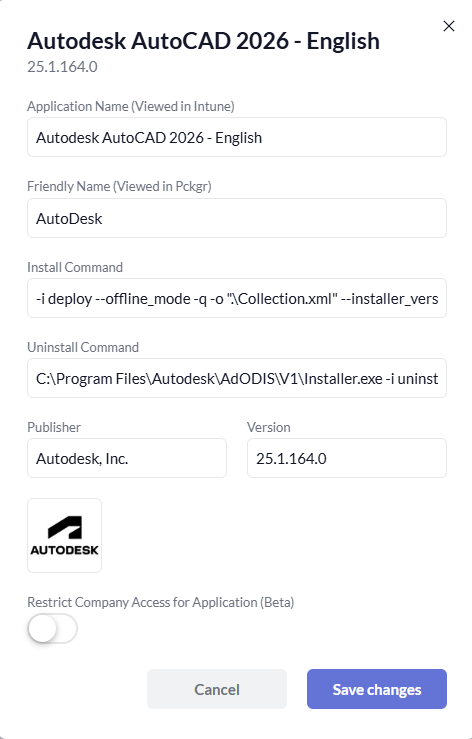
Verifying the App with Pckgr
Now with the hosted installer ready:
- Go to Custom Applications in Pckgr
- Instead of uploading a file, paste your Azure Blob SAS URL
- Enter the main installer filename as
Installer.exe - Open (don’t run) the
.batfile in your Autodesk image folder, this contains the correct install command and version number
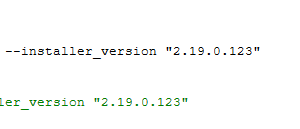
Here’s the command I used (replace the version with the one from your .bat):
-i deploy --offline_mode -q -o ".\Collection.xml" --installer_version "2.19.0.123"
Heads up: The testing phase can take up to 15 minutes due to the size. Go grab a coffee ☕
Once testing passes, you can add your app logo and save it to your library.

Deploying to Intune
Now that the app lives in your Pckgr library, deploying it to Intune is simple, just like any other Custom App:
- Click Deploy to Intune
- Wait while Pckgr packages the app into a
.intunewin, uploads it to Intune, and configures everything
Due to the file size, this process can take up to 30 minutes. Be patient and be sure it’s working.

Testing the Finished Product
Once your Autodesk application is in Intune, it’s time to test deployment on a real device.
Here’s what we did (you can follow a similar process on any Windows 10 or 11 device enrolled in your tenant):
- Assign the application to a test device via Intune (user or device group)
- Wait for Intune to sync and start installation
- Monitor installation progress through the Company Portal or Intune console
Given the size of Autodesk installers, the deployment takes a while, but in our testing, the app installed silently and completed successfully without any user interaction.
Keep in mind: the Custom Applications feature is only available on the Pckgr Business Plan, which is designed for teams managing more advanced deployment scenarios.
If you’re not on the Business Plan yet you can sign up for a 30-day free trial and test it out for yourself.
Visit intunepckgr.com to get started.

Leave a comment